
In this step-by-step tutorial, we’ll show you how to dress up your photos by drawing a beautiful frame on them. Follow along to learn how to do it!
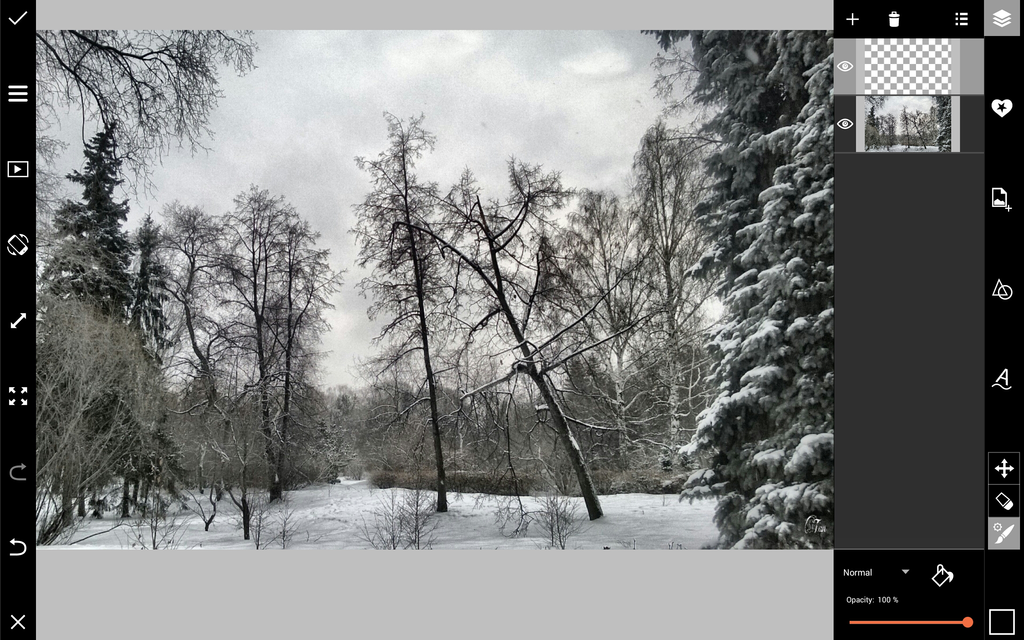
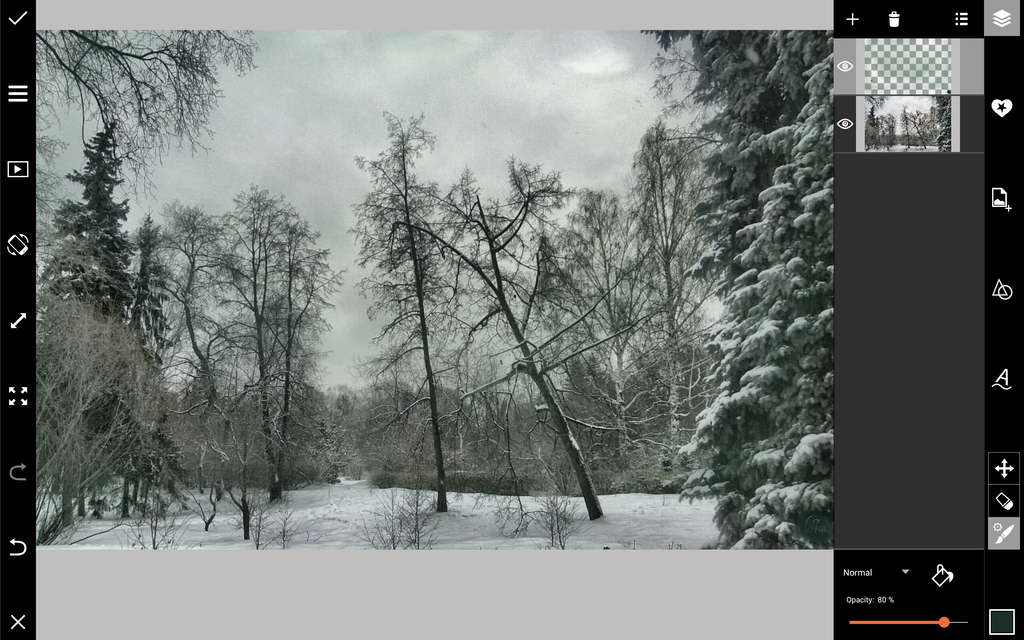
Step 1: Add Tint
Open your photo in Draw. Using a transparent brush in a dark green colour, paint over your entire drawing to give it a subtle green hue.
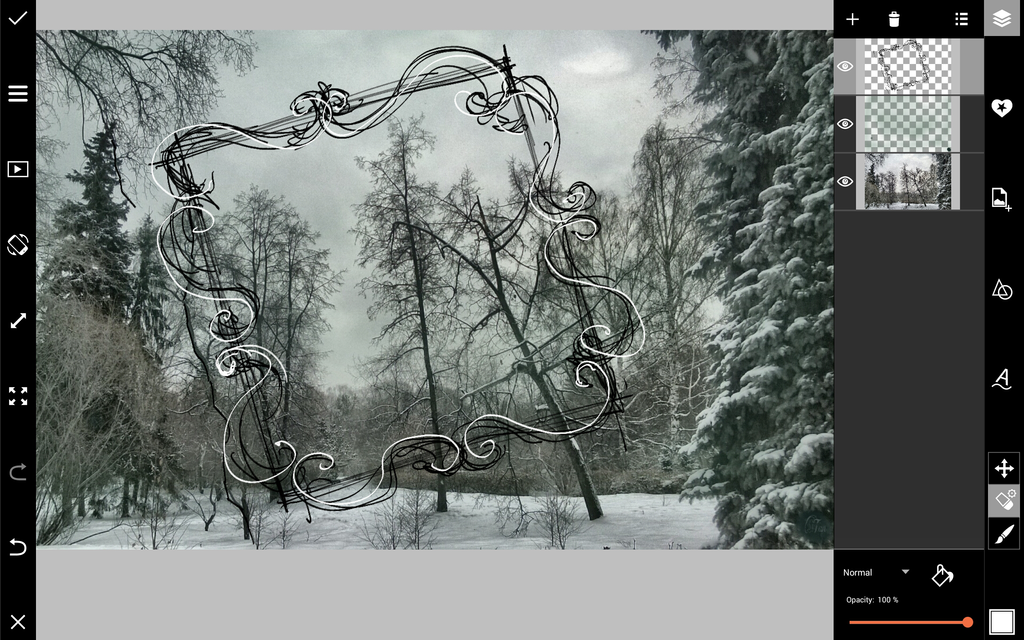
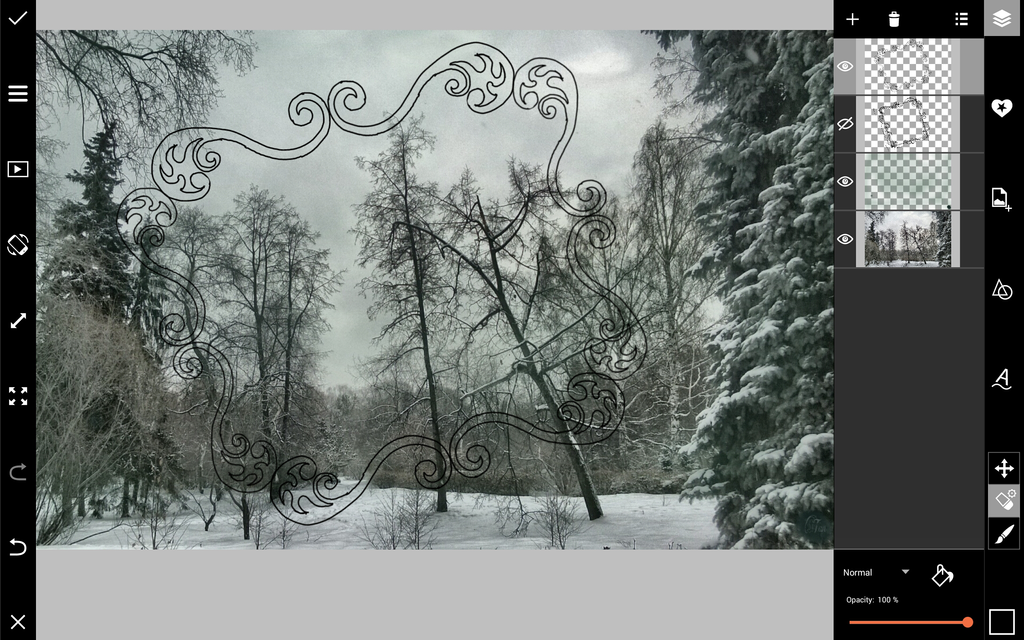
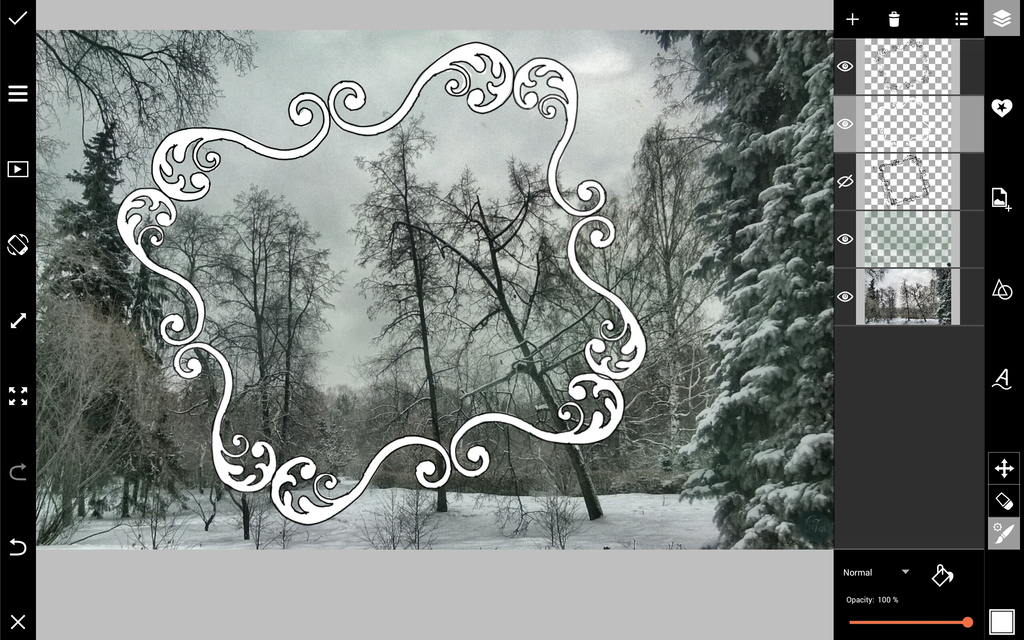
Step 2: Sketch Frame
In a new layer, draw a rough sketch of your frame. Lower the opacity of the layer, and trace a refined outline of your frame in a new layer.
Step 3: Start Adding Colour
Start colouring in your frame with white. In a new layer, add a frosted border on the inside of your frame.

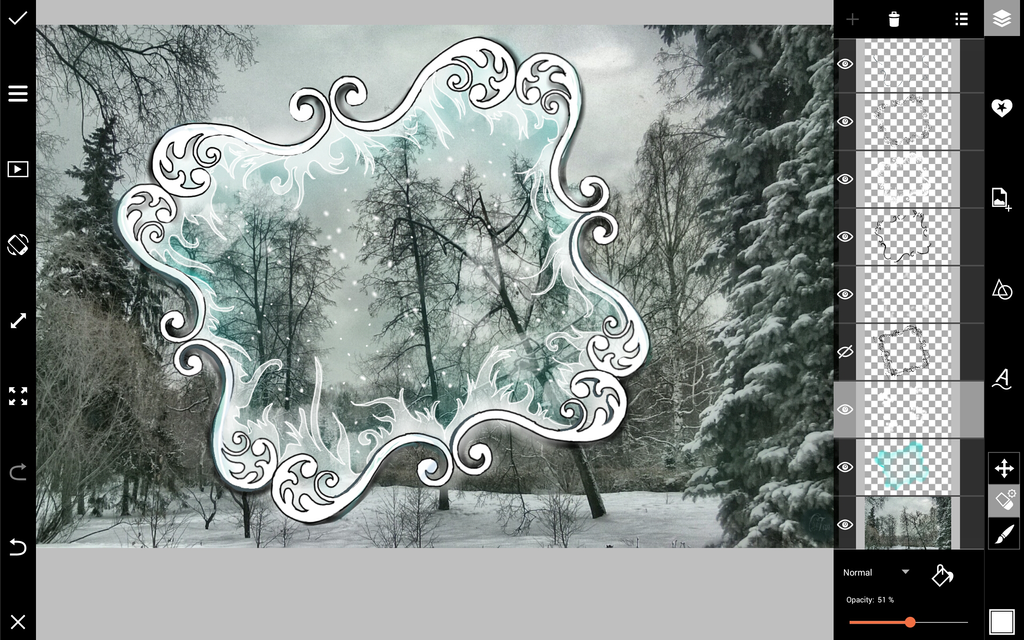
Step 4: Add Shadows & Draw Snow
Use a soft black brush to add shadows to the edges of your frame. Switch to a light blue color and add a blue tint on the inside of your frame. Use a small white brush to add a few flecks of snow.

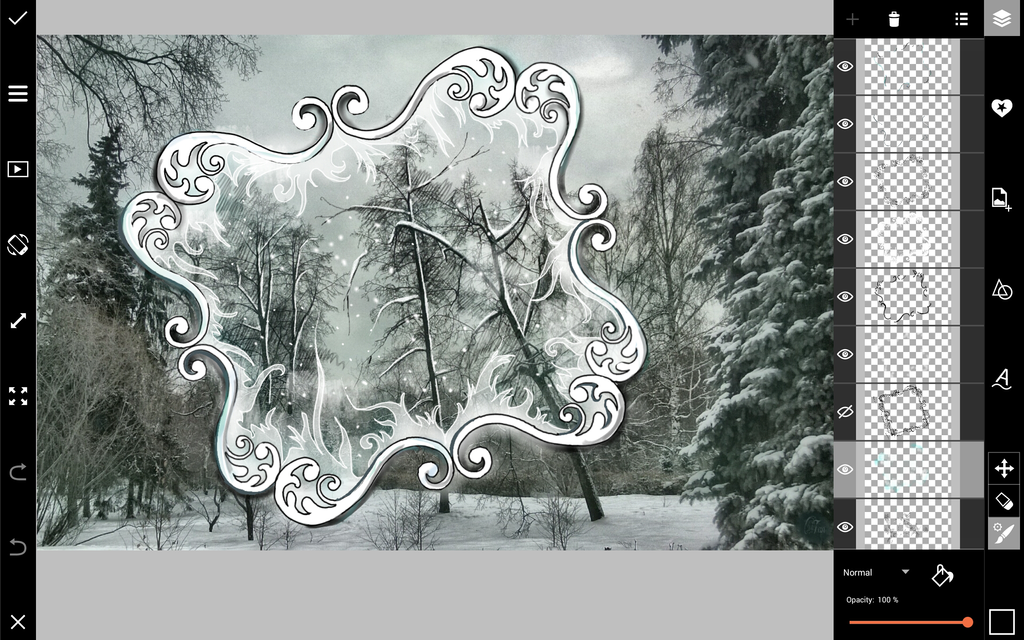
Step 5: Add Final Details
Reduce the opacity of your blue layer to make the effect more subtle. In the area within your frame, use a black brush to darken the trees, and switch to a white brush to draw snow on the branches. When you’re done, save your work and share it!

0 comments:
Post a Comment