Here is a fun tutorial. I’m going to show you how to wrap your photographs onto a 3D cube. Don’t worry if you have never done 3D before, this is really easy. If you have an older version of Photoshop that doesn’t have 3D
1.
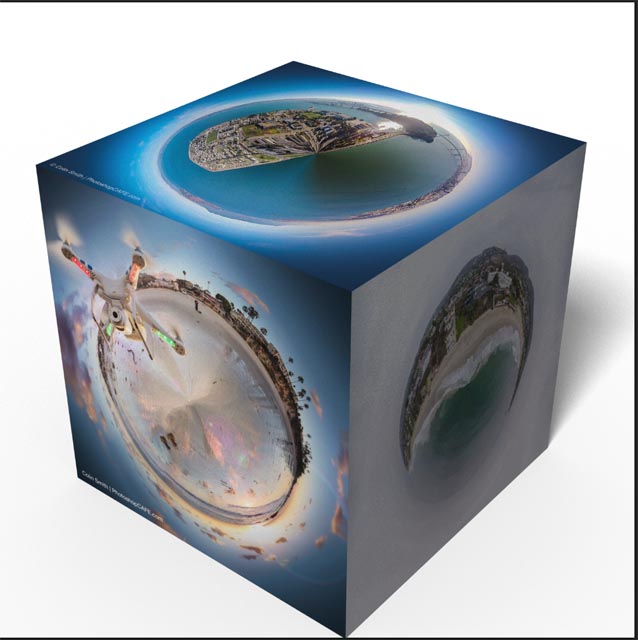
Start with a square photograph. In this case, I’m using my aerial Tiny Planet photos. You can learn how to make those here.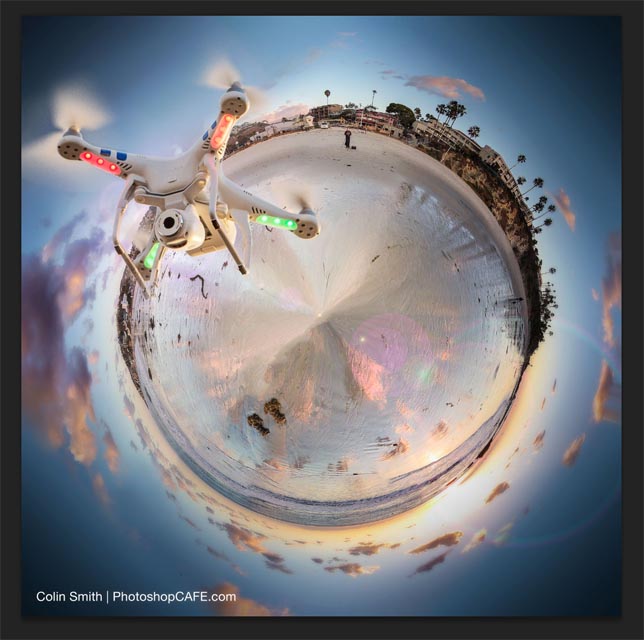
2.
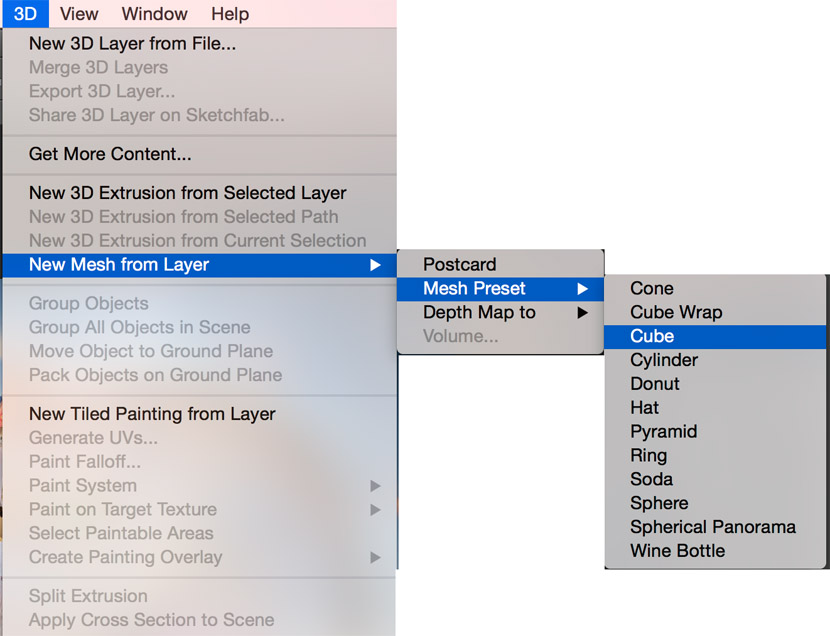
Time to put it on a cube.Choose 3D>New Mesh From Layer>Mesh Preset>Cube
 You will see an option to with to the 3D workspace, accept this option
3.
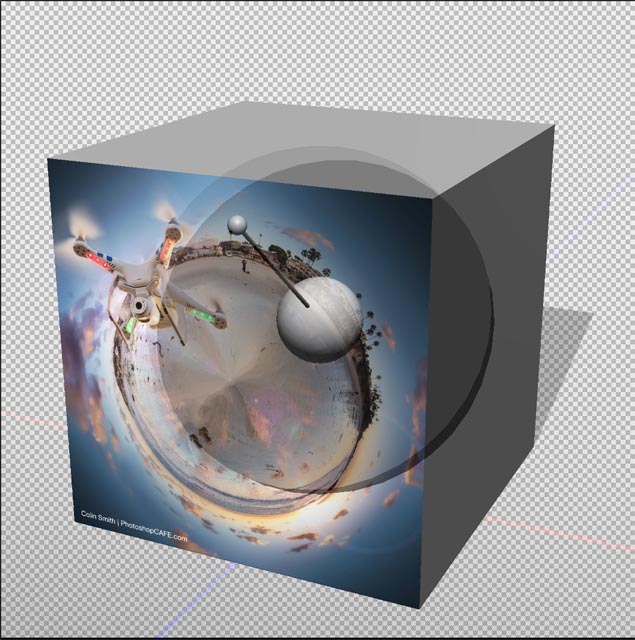
you will see some tools at the top, grab the tumble tool and drag on the screen to rotate the cube
Your photo on the front face of the cube, cool!
4.
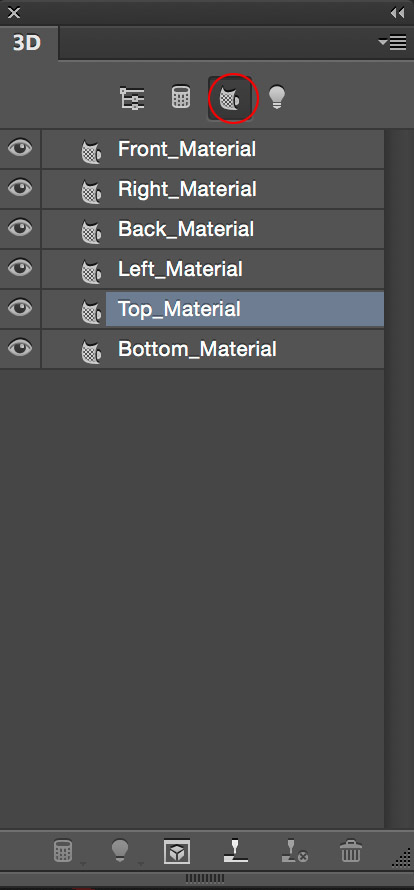
Let’s add an image to a different faceChoose the 3D panel. Click on the 3rd button across, this is the materials panel where all the textures (images) are controlled from.
Choose the Top_Material
5.
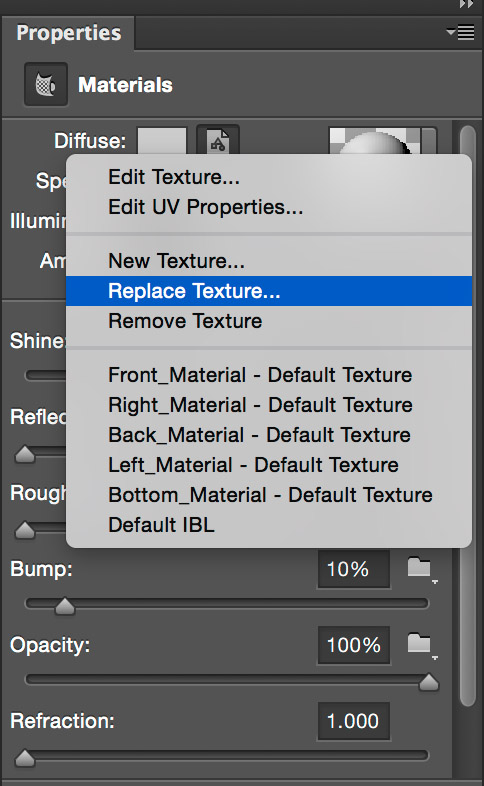
Choose the Properties panel, this is where you can use an image for the texture.Click on the icon to the right of the Diffuse
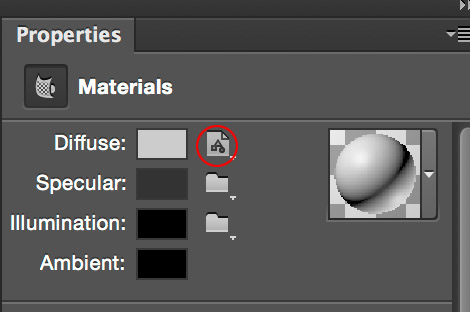
Choose Replace Texture
6
Navigate and select the photo to use from your computer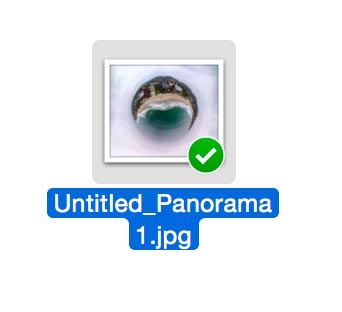
7.
The image will now appear on your cube. Pretty easy huh?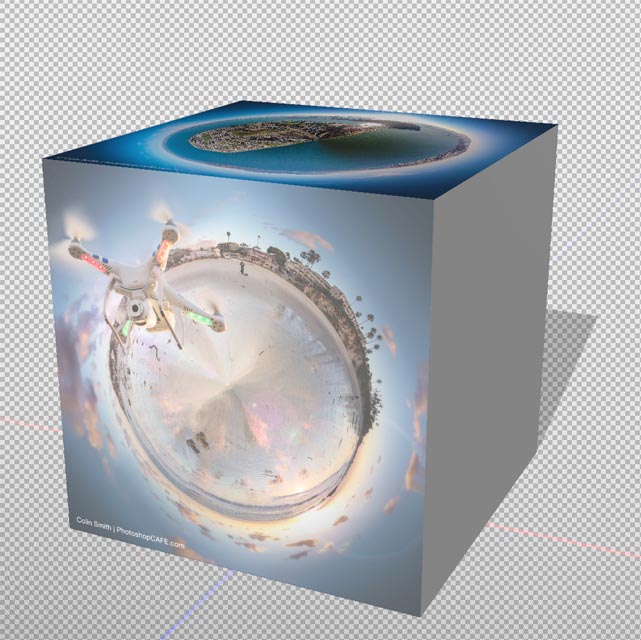
8.
To add images to each surface, you are repeating the steps above for each face. We are adding another photo to the right face now. Click on Right_Material form the 3D panel.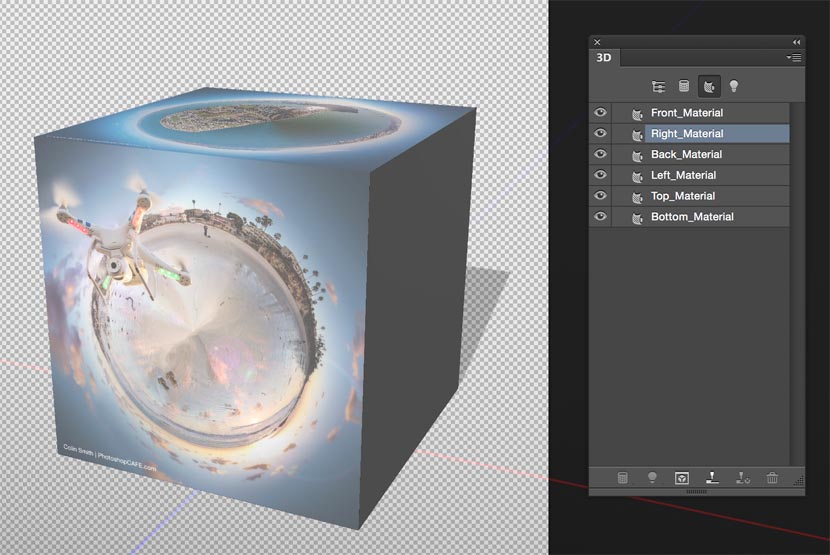
Choose Diffuse from the 3D panel and select photograph
9.
We now have images mapped to all the visible faces.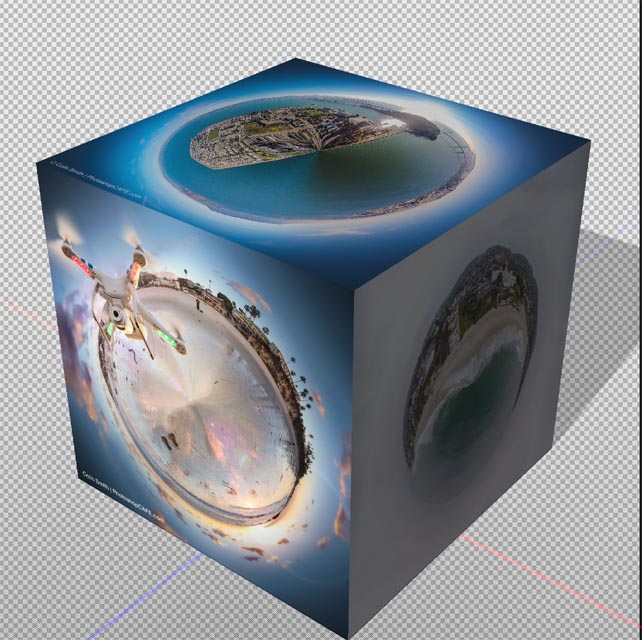
10.
Let’s dress it up a bit and finish it.What we need to do is get the lighting all set up to make the cube appear how we want.
On the 3D panel, choose the Lightbulb icon to switch to the Lighting options.
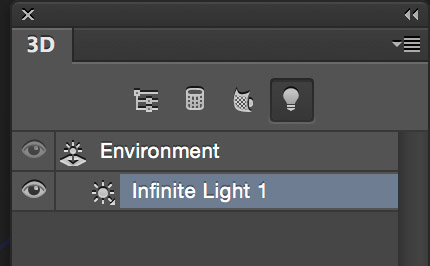
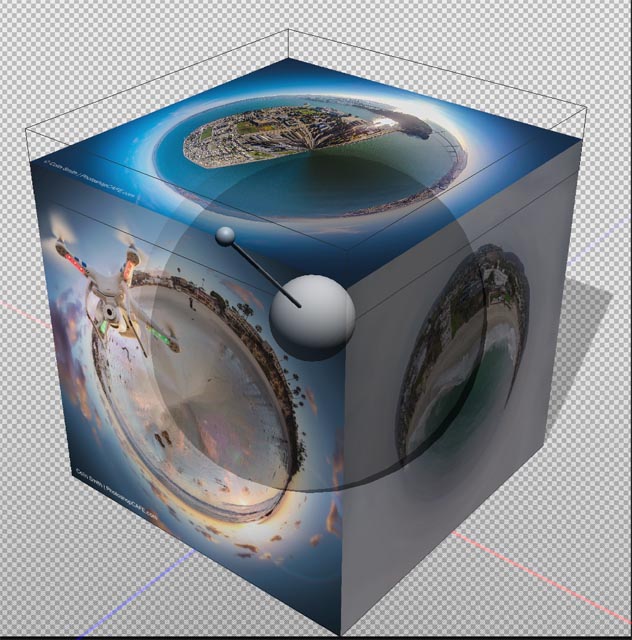
You will see a Lighting widget (a ball with a stem)
Click and drag with this to set the lighting direction. (You can also Shift+Drag on the shadow)
11.
To make the shadow softer, Change the Softness amount in the Properties panel.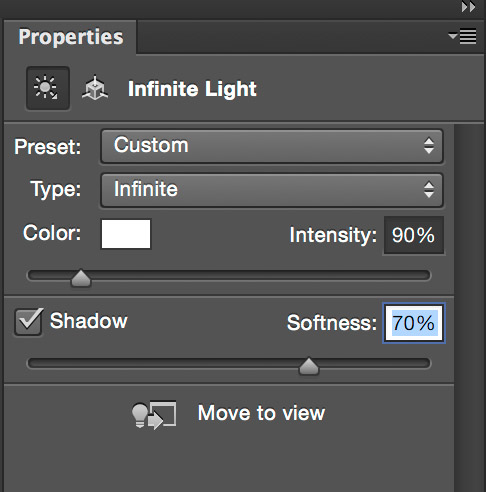
And here is your Final cube. Press Cmd+Shift+Option+R (Ctrl+Shift+Alt+R -windows) to render. Photoshop will create a higher quality purview when you render the 3D model and Lighting, this can take a while.
I hope you enjoyed this little tutorial. Add a comment and let me know what you think and let me know what types of tutorials you will like to see here at MAFIA WORLD!